Replacing the self-signed certificates on HPE MSA 2050 & MSA 2060 storage appliances
HPE’s MSA 2050 and 2060 storage arrays are shipped with a self-signed certificate. This guide explains exactly how to go about replacing the self-signed certificate with your organisation's custom certificate.


HPE’s MSA 2050 and 2060 storage arrays are shipped with a self-signed certificate. It is usually required to install a signed TLS/SSL certificate on the array, in order to meet security policies. This guide explains exactly how to go about replacing the self-signed certificate with your organisation's custom certificate.
Before we continue with the installation steps, take note of the following:
- The installation can be done online without interruption of host IO - but a restart of the management controllers is required at the final step. This must be done one at a time in order to prevent an outage (assuming you have cabled the storage array correctly with multiple physical paths...)
- The FTP protocol is by default disabled on new MSA arrays. You need to enable it using the web interface, or using the following command:
ssh Administrator@your-array-hostname
show protocols
set protocols ftp enabled
Steps to Renew
Generate a CSR and submit to your org’s CA
Create a CSR and then submit to your organisations issuing CA.
To create a CSR, you can use the OpenSSL command as follows and then populate the requested fields.
openssl req -new -newkey rsa:2048 -nodes -keyout msa-private.key -out msa-request.csrYou should also specify the SANs (Subject Alternative Names) when submitting the request.
For ADCS, the string is as follows (edit to your environment!). Note that each controller has it's own dedicated IP address and hostname, and the fields for both controllers need to be specified in the certificate. You'll need both the hostnames and the FQDNs. I've also included the IP addresses too.
san:dns=HOSTNAMEcontroller1&dns=HOSTNAMEcontroller2&dns=HOSTNAMEcontroller1.FQDN.COM&dns=HOSTNAMEcontroller2.FQDN.COM&ipaddress=10.182.0.2&ipaddress=10.182.0.2Example only
Download and modify the certificate into the required format (applicable to ADCS certificates)
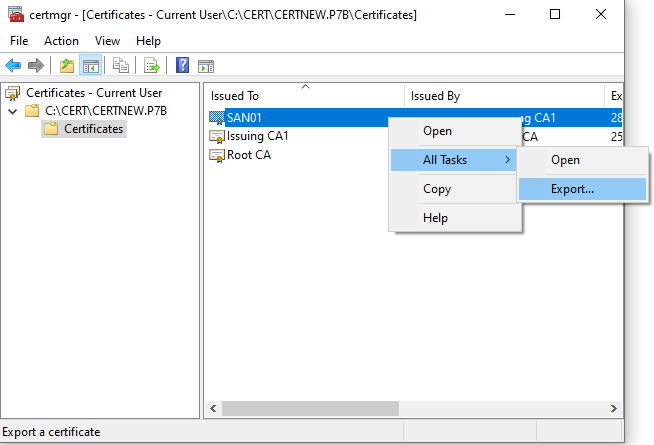
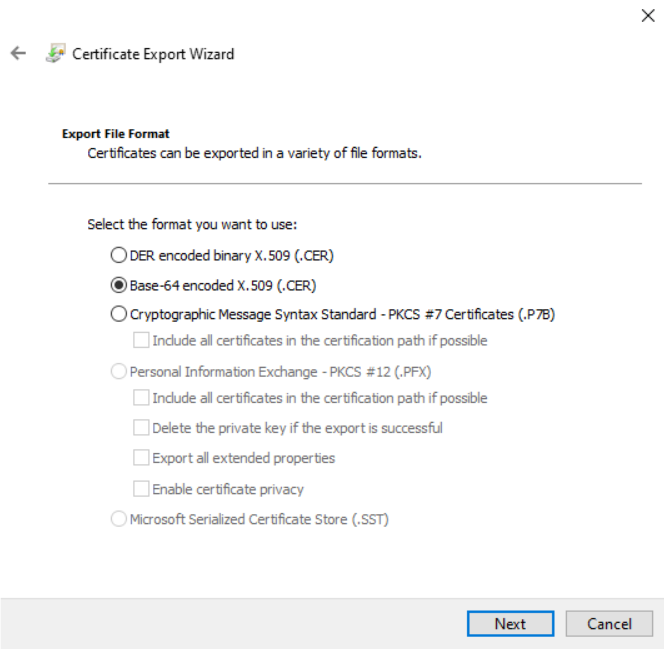
Once the certificate has been approved download the certificate Chain (*.p7b) in Base-64 encoded format
Open the certificate chain in the MMC snap-in (double click) and export all listed certificates in Base-64 encoded format (see below screenshots)
Combine the certificates into the format required for the MSA
Create a new text (*.txt) file and rename it to the appropriate certificate name and extension (*.crt) as seen below.
Edit the .crt file to contain the Device, Intermediate and Root certificates
In this step, you’ll need to edit the *.crt certificate file you created in the previous step and add the certificate, intermediate and or the root certificate together. This is required by the array in order to trust the full certificate chain implemented in your organisation's PKI.
The certificate file structure should look like this:
—–BEGIN CERTIFICATE—–
MSA device certificate data (base64 encoded)
—–END CERTIFICATE—–

—–BEGIN CERTIFICATE—–
The intermediate certificate chain data (base64 encoded) (repeat section as necessary to cover all intermediate certificates)
—–END CERTIFICATE—–

—–BEGIN CERTIFICATE—–
The ROOT CA certificate data (base64 encoded)
—–END CERTIFICATE—–
Once you have merged the certificates, save the file.
Installation of the MSA SSL Certificate
To install the certificate to your MSA array you’ll need to connect through FTP at command line.
Open a command prompt and navigate to the directory where your certificate (.crt file) and private key (.key) files reside.
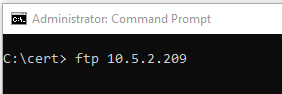
Enter the MSA storage array’s IP address or DNS alias (active controller!)
Enter the MSA storage array's username and password
Upload the certificate using the following command
put <certificate-file-name.crt> cert-fileNext, upload the private key file using the following command
put <key-file-name.key> cert-key-fileFinally, restart the management controller of your MSA - connect to the array where you have installed the certificate, and restart the relevant controller. This must be done one at a time in order to prevent an outage! (assuming you have cabled the storage array correctly with multiple physical paths...)
ssh [email protected]

restart mc
Allow a few minutes and then verify the certificate is shown when browsing the web UI via each of the controllers.
OpenSSL Commands not recognised?
Running Windows? You probably don't have OpenSSL installed and also mapped to PATH.
- Download link: Win32/Win64 OpenSSL Installer for Windows - Shining Light Productions
- User Guide: OpenSSL Quick Reference Guide | DigiCert.com
You can then run the “OpenSSL Command Prompt” application to run OpenSSL commands.
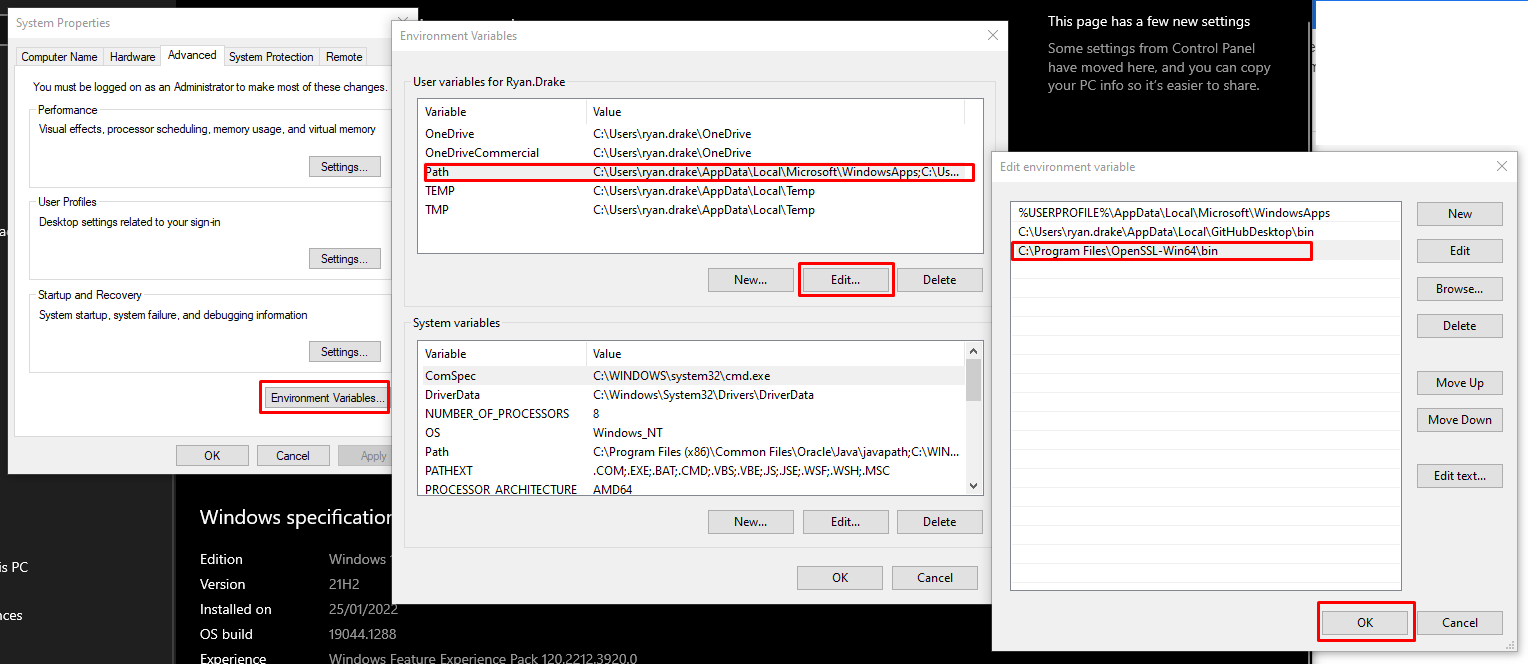
Once you have installed OpenSSL for Windows, to use openssl across all cmd.exe and powershell windows, you will need to modify your PATH Environment Variable under Advanced System Settings (Windows Desktop or Server) as shown in the below screenshot:
Ryan Drake
Infrastructure Insider - Editor-in-Chief
Copyright 2024, All Rights Reserved.